Hello Peeps
Thanks for dropping by. Yes I have another card for you today. This is a card I did with my stamping group earlier in then year. I said we are doing a landscape well it's underwater.
The stamps I used are from a Canadian lady called Ryn Tanaka. I was introduced to her stamps by a lady here in Plymouth called Bernie. I then went online and saw what Ryn did and ordered some of her stamps. The ladies in my stamping group were impressed as well so I ordered a whole batch and this is what I came up with using Ryn's stamps, and the consequent workshop.
So above you can see the picture of the finished card. What impresses me is the bubbles coming from the fish (yea and she is called Wanda) by a little tinkering you can make it 3D. Here's how to do the card.
So you will need:
Basic craft kit
White Card measuring 10x19cm (7 1/2" x 4")
Distress inks in Mowed Lawn, Salty Ocean, Broken China.
Distress Markers: Scattered straw, mustard seed, squeezed Lemonade.
Post-it-note
Wanda fish Stamp
Coral Stamp (also from Ryn Tanaka)
Black Dye based ink
Versafine in Majestic Blue and Onyx black
Some makeup sponges
Non-stick craft mat/splodge mat.
White gel pen
Silver gel Pen
mask with holes (will explain later)
So to do the card:
Gather your ink pads and sponges I used cut'n'dry, but its up to what you use. The piece of white 10x19cm (7 1/2" x 4") card. and you post it note. and the two Versafine ink pads.
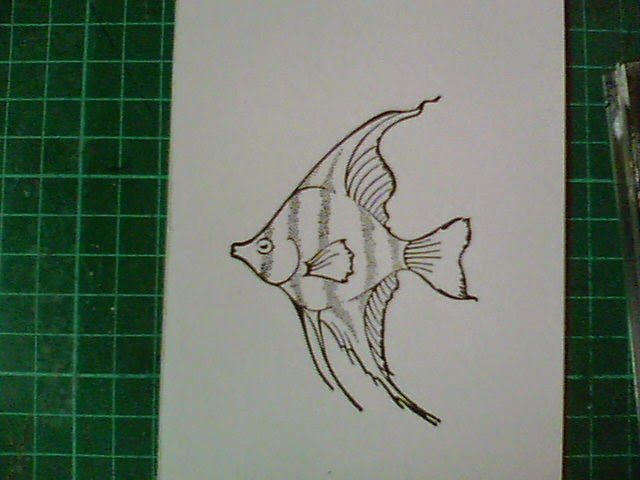
Mount the fish on to a acrylic block and ink up with the Versafine. Onyx black ink pad.
Stamp the fish on the white card roughly about two thirds down if you want to be precise the nose of the fish is 6cm from the bottom of the card.
Next you want to stamp the fish on to a post-it -note to create a mask. Notice how I have angled the stamp so as to get the maximum sticky on the mask.
Cut it out.
Place the sticky over the fish on the card. Make sure its firmly in place.
Lay down your craft sheet/splodge mat.
Next gather your distress inks and sponges and start applying ink to the white area of the card.
You want to mix the blue and the green as in the photo. Do this all over the card. You might want to with the other hand press down on the post-it note so as to make sure no ink goes on the fish.
Sorry its a bit blurry. But you can see that the whole white area has been covered with the distress inks and have achieved a nice depth of colour.
Now we are going to but some coral in the back ground. With the post-it-note still in place ink up the largest of the coral stamps in the Versafine Majestic blue.
Lay some scrap paper underneath if you want, then stamp the coral over the fish. You might want to do this 2-3 times. as you can see from the photo, I came in from the sides as well.
Once you are happy with the coral, you can now remove the mask. The coral will look as though its behind the fish.
Next I got my three distress markers and coloured in the fish.
You can colour the line in the fins with the silver gel pen if you wish.
So the fish is all nicely coloured in and we can now add a bit more detail to the background.
As you can I have now my mask with holes in. and Salty Ocean distress ink pad, and a make-up sponge.
Partially lay the mask over the card as shown and dab with the ink pad making sure you do go through the holes.
Repeat for the other side and you have a nice
subtle background.
So here I have gathered the things I need to stamp in the bubbles emerging from the fish
Black dye based ink pad, Bubbles stamp and white gel pen.
So begin by inking up the stamp with the black ink pad.
Stamp it as close to the fish mouth as possible and at an angle use the photo as a guide.
So with the gel pen colour in the top and the bottom of the bubbles.
As you can see I have done the ones emerging from the fish , now I just need to do the rest.
Now all the bubbles are gelled and it really does make them pop.
So the finished card . I mounted the art work on to silver miri card then on to my 8"x 8" card.
Job Done
Thank fro dropping by and hope you have enjoyed the tutorial.
Andy xx


Love the card - looks even better in real life. Thanks for a lovely workshop today - must use my stencils and masks more often now.
ReplyDelete