Hello Peeps
Firstly many apologies for not blogging for a while , all I can say is where has the time gone, August already and some of us already have started on our Christmas cards.
So todays card that I want to show you is a landscape using some ink pad colours that you might not normally associate with doing landscapes.
So above you can see a picture of the finished card, so a bit of brayering stamping with a combination of these two elements you can produce a lovely scenic card.
So here's what you need.
Basic tool kit
Non-stick craft mat/splodge mat
brayer (should in your basic tool bag)
Adirondacks dye based ink pads in the following colours, Sunshine Yellow, Red Pepper, Cranberry, Eggplant, Citrus.
Versafine in Olympia green/ Onyx Black
Tree Stamps,
Flight of birds stamp
foliage or grass stamp ( all these stamps are on the Inkylicious flight of dreams set of stamps.)
copy paper
8” x 8” white card blank
Plain white card
green/purple card for matting and layering
Circle punch approx. 5cm or 2” diameter
So how's it done.
Assemble your ink pads, your brayer and a piece of white card to measure 5 1/2" x 7 1/2/ " this is where we are going to do the landscape on.
Punch a whole using the punch into a piece of scrap card. Place the "aperture about 2cm or 1/2" from the top of the card. Working with the short sides at the top and bottom.
Ink up the brayer using the Sunshine Yellow. Remove excess on to a splodge mat.
Working from of the card as shown as you roll the brayer gradually bring it down across the sun it will gradually go yellow repeat with the red pepper ink pad until you have a nice orage sun but not to bright.
Don't clean the brayer.
With the ink that's left on the brayer roll back and forth across the top of the card again gradually bringing it towards the sun . Don't worry if you go over the sun as the ink on the brayer is minimal so wont make a difference to the sun.
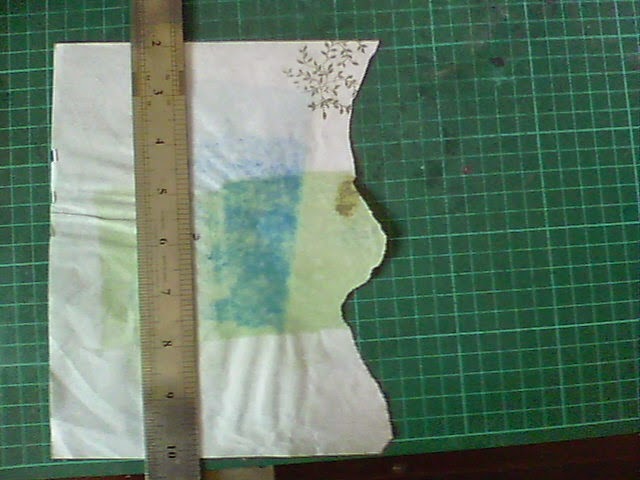
With a piece of scrap paper and a ruler tear the paper moving the ruler to create some hills.
So hope fully you will have something like this. It does take practice.
Lay it on top of the card covering the sun it should be about half way down.
Ink up the brayer with cranberry, go over the torn paper, as shown in the photo.
Move the paper slightly as in the photo, and without re-inking the brayer go over the torn paper again. This will appear fainter and make it look as though the "hills" are further away.
Now move the torn paper to the other side and again without re-inking the brayer do another set of "hills".
So this is what we should have up to now.
Clean the brayer
Ink the brayer up with Citrus, and going from the bottom up towards the cranberry fill in the white area it will get fainter as you get towards the cranberry , that's fine. Clean Brayer
Lastly put the torn piece of paper back in place and ink up the brayer with eggplant. Again go over, move paper and go over again to make further hills in the distance. Clean brayer, splodge mat and put away.
So this is what we should have up to now. Now we will stamp in our details.
I'm using Inkylicious flight of dreams stamp set. and a onyx black Versafine ink pad.
Using the two small trees ink up with the black stamp it once on to scrap paper then on to your work, do this twice as shown in the photo.
Using the bigger tree ink up, and stamp in the middle of the picture near the bottom using the photo as a guide.
Ink the tree up again and using the edge of the stamp, stamp in the bottom corners of the picture.
Ink up the foliage stamp with Olympia green and stamp over the sun at the top of the picture stamp again without re-inking to get a fainter image. Repeat this all the way along.
Finally add the flight of birds blotting on to scrap paper first using the onyx black. Mount on to card of your colour choice and then on to a 8"x8" card blank.
The finished card.
Thanks for dropping by and hopefully wont leave it quite so long.
Andy xx


No comments:
Post a Comment