Hello Peeps
I'm going to show you a card that I did with my stamping group the other week. It was a design that was inspired by a design that I came across in craft stamper magazine.
It comprises various elements and includes using spellbinders labels one die and the new tuck fold dies which are like the old lace templates but with the hard work done for you.
Below is a picture of the finished card.
Ok so to make this card you will need the following:
Swirly stamp mine came from Clarity stamps
Distress inks: Peacock Feathers, Tumbled Glass, Broken China
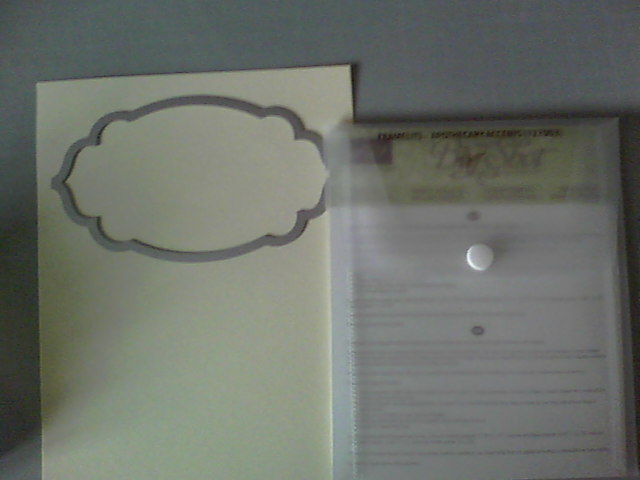
A5 card Blank
Black micron pen
Spellbinders dies: Labels one, the biggest die
Cut, Fold, Tuck, Dies Floral Burst, S5-113
Non-Stick-Grid (more on this later)
Splodge mat
Punchanella
Ink Blending Tool
Black Archival Ink Pad
Butterfly Stamp
Angelina fibre and film
Iron
A5 spare card.
With the labels one largest die create and aperture and stick centrally on to the front of your A5 card front. Keep the cut out bit as you are going to use that as a mask later on. Use low tack masking tape to fix aperture in place. Using the lightest colour in this case tumbled glass begin applying ink on to the card.
Gradually cover the aperture with the other two colours. Don't worry about it being uneven or dark bits as its going to be covered later on anyway. As long as we have a nice coating of colour that's fine.
Keep applying the colours until your are happy with the results and the level of colour. As I said earlier don't be to fussy here.
Once you are happy with the basic layer , lay your piece of Punchanella across diagonally across one corner as in the picture. Using a make up sponge dab some distress ink through the holes. Be careful of the edge between my forefinger and thumb as you don't want a straight edge. Keep the ink with in the holes.
Once you are happy with the corner and you have applied enough ink clean of the Punchanella and we can m move to the opposite corner.
Here I'm using a mesh which I picked up in the Pound shop. Its basically a non-stick mesh for cooking chips and stuff in the oven. So its non-stick, heat resistant and a good stencil to have in your kit.
So lay it across the opposite corner and again dab with ink through the holes applied with a makeup sponge.
Here you can now see the two corners stencilled.
Now remove the aperture and your hard work is now nicely featured on the front of your card.
Next stage is to highlight the square with a black border. So place the aperture back over your square but don't stick it.
With the black pen go around the edge of the aperture to crate a line around your square.
Here you can see I have gone all the way around and removed the aperture. If you want you can have just the one line.
Here I have put the aperture back in place and moved it a few mm to the left and gone around again, I repeated this step again but a few mm to the right so you end up going around three times. this just gives a slight quirky feel to the card.
Ok the next step is to stamp in the flourishes in the corners. So I have my stamp, Archival ink pad and most importantly the cut out bit from when we die cut earlier. The bit I said to keep, you did didn't you
Ok so lay mask over the blue square and if you feel more comfortable use low tack in the opposite corners you not stamping to hold in place. Ink up your stamp and stamp in the corner using the picture as a guide.
Now reaper the process in the opposite corner. Clean your stamp and remove the mask.
So here we have the beginnings of our card. Next thing is to move on and do the flower and butterfly topper for the middle.
Using the two largest dies from the flower burst set run through your die cutting machine following your manufacturers recipe for your particular machine.
I now have my two die cuts and inks ready which are the same as I used before. Important thing here is NOT to do the folding.
As before using the colours begin to apply to the dies cuts. I used Tumbled glass first and covered the whole piece then moved to broken china, but did not go quite so far in. Then finally the peacock feathers for the outside edge.
The final coloured piece. Once you are happy repeat with the smaller circle.
Take one of the thin pieces of card and bend it towards your right, Before you tuck it under you need to fold the next piece so do that then you can tuck the first bit under the card that's left repeat all the way around. Repeat with the smaller circle.
Here I have now done all the tuck and folding and have layed the smaller one on top of the other I have used 3D foam pads to give a bit of dimension..
Again using 3D foam pads I have placed my flower over my square.
Next is to do a butterfly in the middle or you can leave as is and just have a sentiment in the middle your call but I will give instruction for the butterfly.
Here I have gathered all the things needed for the butterfly so just to recap: Angelina fibre and film 2 pieces as we are going to make a sandwich, Iron (I use an encaustic art Iron) you can use a cheap travel Iron and use it without the steam. Butterfly stamp. Grease proof paper. Black Archival ink pad. Acrylic block
Switch on the iron an put on high setting if using a encaustic art iron or cotton setting if using a steam iron(without steam).Ink up the butterfly and lay one piece of film on top.
Add a little of the fibre and you dont want to much here.
Add the last bit of film.
And most importantly add the grease proof paper. The trick here is not to move the sandwich.
Apply the iron to the sandwich and you should see the image of the butterfly come through
like this.
Separate all the parts carefully and the film and fibre should be all fused together.
Cut out the butterfly including antennae.................. seriously life's to short to cut some things
Using a bit of pinflair glue stick butterfly to centre of the flower. For the antennae use a stamen that they use for flowers in cake decorating here I have used black ones and cut in half and stuck into the silicone glue
Here you can see the completed butterfly with antennae
Finished
Hope you enjoy this and I welcome your comments.
Happy Crafting.
Andy xx


